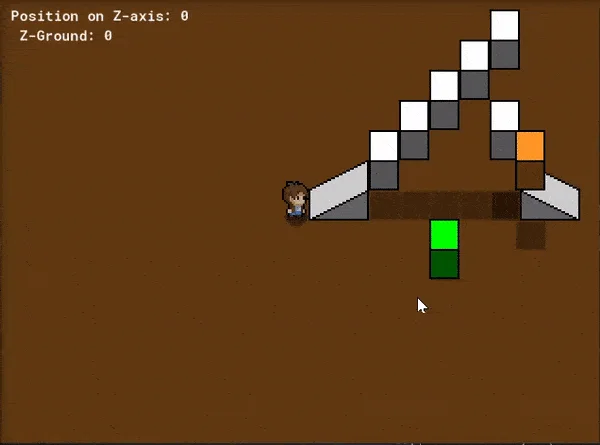
In this tutorial series we are going to create a system to handle gravity, collisions, slopes, and platforms in 3D/2.5D using GML. (Click here for Tutorial #2)
Before we begin, this tutorial is geared towards people that understand intermediate programming concepts such as Game Maker Classes, Arrays, and Vectors.
Show full description...
There are a lot of variables we will use to manage gravity and position on the Z-axis. We will need a struct to help organize the variables and hold some functions that can allow us to easily operate on those variables. In a new script called init_zaxis put the following code:
function init_zaxis(){ position = { z: 0, /// position on z axis z_speed: 0, /// speed in z direction z_gravity: 0.5 /// accelerate down }; }
This will serve as the base struct that we will add to later for handing our collisions, slopes, and platforms.
Part 2: Vector Based Movement
Now we want to be able to handle movement in the x/y directions, it is a lot easier to do using a vector, here is a cut down version of a Vector2 Class.
function Vector2(vx = 0, vy = 0) constructor{ self.x = vx; self.y = vy; static normalize = function(){ var dis = self.length(); if(dis == 0){ return; } self.x /= dis; self.y /= dis; }; static length = function(){ return(point_distance(0,0,self.x,self.y)); }; }
Part 3: Moving in 3D
Now that we have some classes to help with moving in 3D, lets add it to an object. In the create event we can add this to our player object.
/// create position struct to handle z-movement init_zaxis(); /// create vector to handle movement in 2d motion = new Vector2(); max_spd = 2.0;
Next, in the step event place the following code
/// sort y position depth = -y; /// get movement axis motion.x = keyboard_check(ord("D")) - keyboard_check(ord("A")); motion.y = keyboard_check(ord("S")) - keyboard_check(ord("W")); /// apply movement if(motion.length() > 0){ motion.normalize(); x += motion.x * max_spd; y += motion.y * max_spd; } /// jump if(keyboard_check_pressed(vk_space)){ var _jump_spd = 6; if(position.z <= 0){ position.z_speed += _jump_spd; } } /// move player on z axis with gravity if(position.z > 0){ position.z_speed -= position.z_gravity; } else { position.z_speed = max(position.z_speed, 0); } position.z += position.z_speed; if(position.z < 0){ position.z = 0; }
In the draw event, we will add this code so we can see the player movement on the z-axis.
var yy = y; /// shadow draw_set_alpha(0.5); draw_circle_color(x,y,8,c_black,c_black,0); draw_set_alpha(1); y -= position.z; /// draw player at Z position draw_self(); y = yy;
Conclusion
We have created the very basics of a z-axis movement system where you can move around on a flat 2D plane and jump, but we still have yet to handle the collisions and interacting with platforms and slopes. In the next section we will add in the collision handling. (The next tutorial in the series is here)
 GetAssetPack